
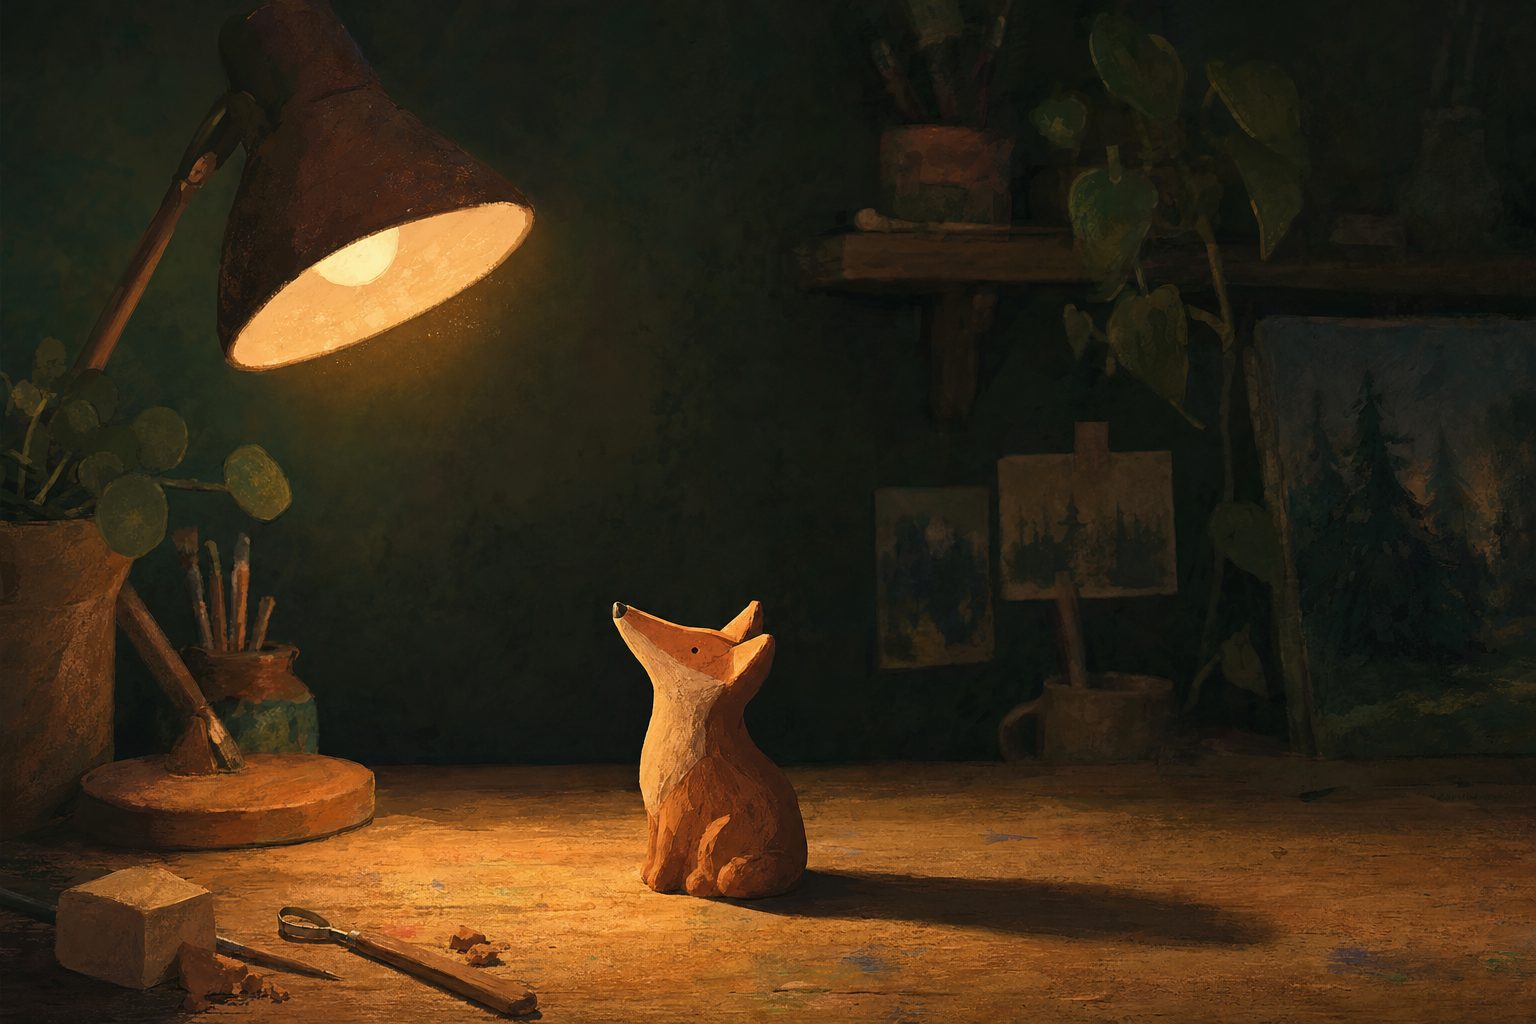
A character can stand perfectly still and still tell you they’re scared, and a lot of that comes from where the light is. I light my own shots because I direct and animate my own films, and somewhere along the way I stopped thinking of lighting as the step that makes a render look finished. To me, lighting a character shot is a second layer of acting. The pose and the timing say one thing, and the light either backs them up or quietly argues with them.
Here’s how I work through it, from the story beat to the final composite. It’s my own approach, not a rulebook.
Before I place a single light, I go back to the storyboard panel and write one line about the moment. What does the character want here, and are they getting it? That sentence decides more about the lighting than anything in the scene file.
A character who is hiding something might sit mostly in shadow, with the strongest light falling on the wall behind them instead of on their face. A character who has just made up their mind might get a cleaner, brighter light from the front. Same character, same set, two different people on screen. If I can’t say what the beat is, I’m not ready to light it yet.
Most character lighting starts from three lights. Each one has a technical job, and each one also changes how the audience reads the character.
The key light is the main source in the shot. It sets the direction of the shadows on the face and body, so it carries most of the emotion. I think about its height and its side before anything else.
I also decide how hard the light is. A small source gives sharp, crisp shadow edges that feel tense and clear. A large, soft source wraps around the form and feels gentler.
The fill is a weaker, softer light on the opposite side from the key. Its job is to decide how dark the shadows get. When the fill is close to the key in brightness, the image feels open and safe. When I pull the fill way down, the shadow side drops into darkness and the shot gets more dramatic and more private. I adjust the fill more than any other light, because small changes in it shift the mood a long way.
A rim light sits behind the character and catches the edge of their silhouette, which is the outline you’d see if the whole figure were filled in solid black. Technically, the rim separates the character from the background. Emotionally, it’s a strong signal. A bright rim can make a character feel larger than life or a little otherworldly. Taking the rim away lets them sink into the set, which is useful when I want someone to feel small or alone.
None of the acting matters if the audience can’t find the character in the frame. My first check is the silhouette. I’ll view the shot with the character as a flat dark shape against the background and make sure the pose still reads. If an arm disappears into a dark doorway, I either move the light or change the background value behind it.
Value means how light or dark something is, separate from its color. I try to keep the character at least a step brighter or darker than whatever sits directly behind them, especially around the face and hands, since that’s where people look.
Light linking helps a lot here. It’s a setting that lets a light affect only the objects you choose, so I can give a character a rim without that same light spilling across the wall.
A lot of my instinct for this comes from working in clay and sculpture growing up. When you turn a sculpture under one lamp, you see right away where the form reads and where it goes flat. I try to keep that habit in 3D and judge the shape first, then the polish.
Compositing is the stage where separate rendered images are layered and adjusted into the final frame. Because I composite my films myself, I plan the lighting with that stage in mind from the start.
The biggest habit is rendering in passes. A render pass (sometimes called an AOV, short for arbitrary output variable) is a separate image that holds one piece of the final picture, such as a single light’s contribution or just the shadows. When the key, fill and rim each come out as their own pass, I can rebalance them in comp without rendering the whole shot again. That makes it cheap to try a darker fill late in the process, which is often when I figure out what the beat needs.
I also leave room. I avoid blowing out highlights to pure white in the render, because once that detail is gone, no amount of grading brings it back. It’s easier to push contrast up in comp than to rescue something that was clipped on the way in.
A few checks I come back to on every shot:
You can see where these choices end up in finished, lit shots in my 3D demo reel on Vimeo.
I light and render in Maya and composite in Nuke. Texturing in Substance Painter matters more to lighting than people expect, because the roughness of a surface changes how wide and soft a highlight looks. Sculpting in ZBrush matters too, since fine surface detail is what catches a rim light. Still, the software is the how. The question that drives every decision is the same one I started with: what is this character feeling right now?
If you’d like to see how light shapes my characters outside of motion, take a look at my 3D character gallery. I hope it gives you a few ideas to try on your next shot.

Emily Sarah Leeds is a writer and creative enthusiast at Emily Art, where she shares insights on art, creativity, design, and artistic expression. With a passion for exploring visual storytelling and creative techniques, Emily creates informative content that helps readers discover inspiration, develop their artistic skills, and stay connected with the evolving world of art.