
A raw render never looks like the shot I had in my head. The character is there, the set is there, the lights are doing what I told them to do, and the frame still feels like separate things sitting next to each other. Compositing is the step that fixes that. It’s the last stage of my pipeline, and it’s where a shot stops being a stack of parts and becomes one image.
I also think it’s the stage that gets the least attention when you’re learning 3D. Modeling and animation are easy to picture. Compositing sounds like paperwork. So here’s what it is, what I change while I’m doing it, and why I finish my own shots.
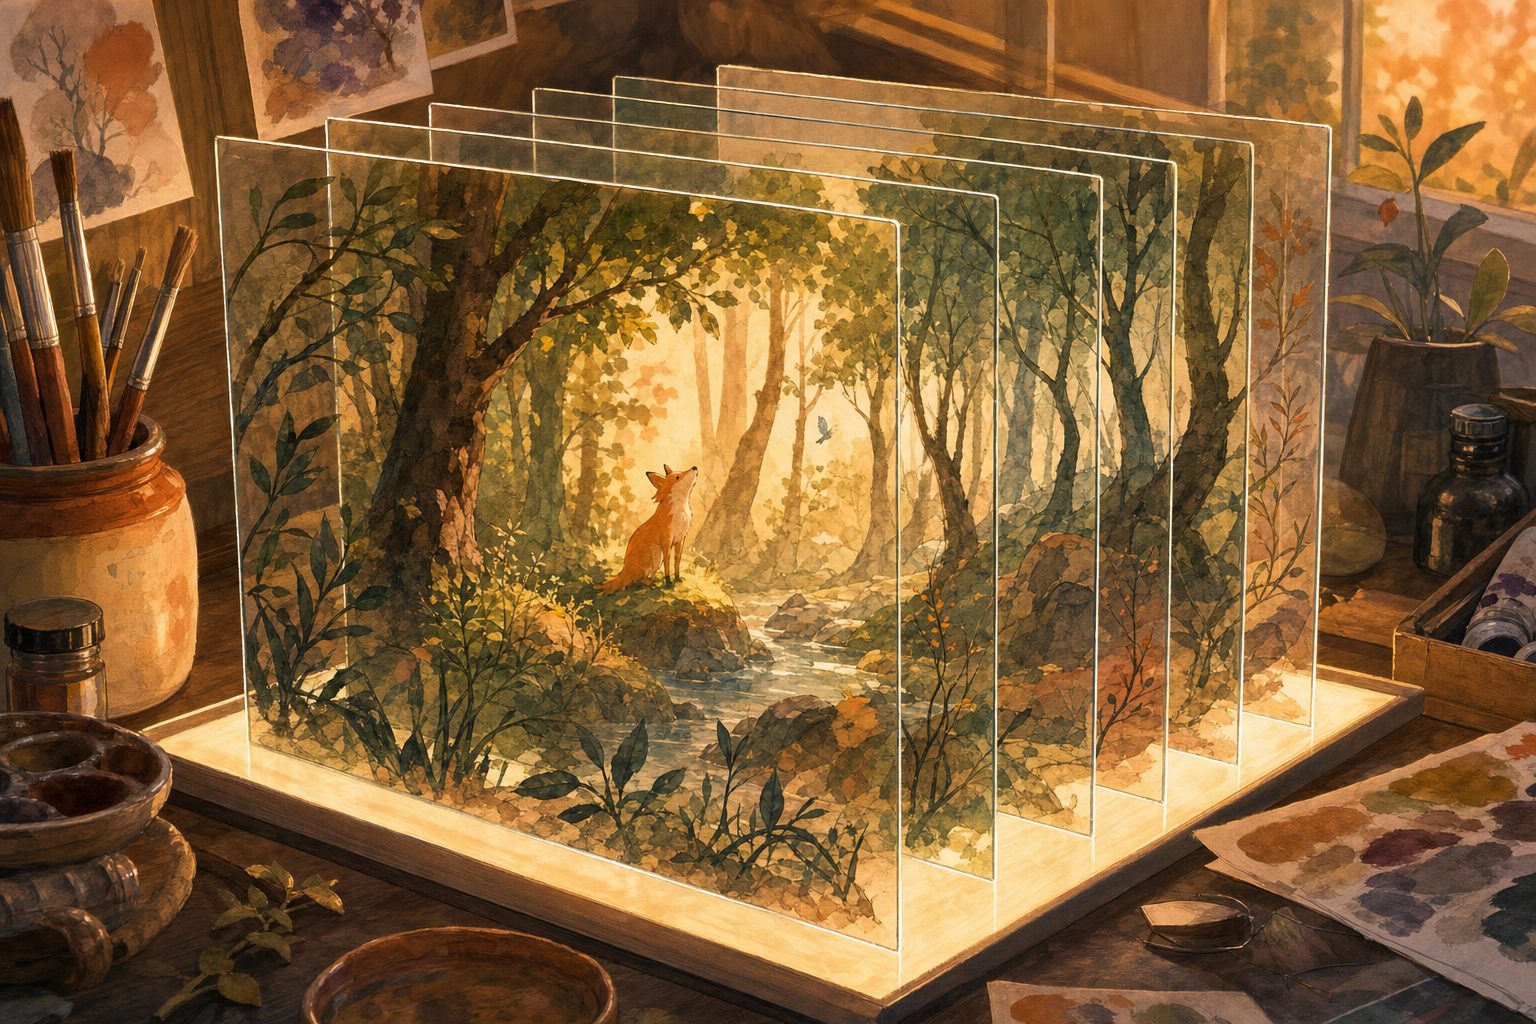
Compositing (comp for short) means combining separately made images into one final picture. In 3D animation, those images are usually layers that came out of the renderer: the character on one, the background on another, maybe smoke or dust on a third. Each layer carries an alpha channel, which is a map of where the layer is solid and where it’s see-through. That lets me stack layers in order, like panes of painted glass. Look straight through the stack and you see one scene.
Stacking is the easy part. The work is getting the panes to agree with each other about light, color, and distance, so nobody watching thinks about panes at all.
When I render a shot, I don’t only ask for the finished picture. I ask the renderer to save the ingredients of that picture as separate images too. Each one is called a render pass. You’ll also hear them called AOVs, short for arbitrary output variables. These are the ones I lean on most:
The lighting passes add back up to the full image. The reason to split them is control. If the highlights on a character’s skin are too bright, I turn down the specular pass and leave everything else alone. That change shows up almost as fast as I can make it. Fixing the same thing in the 3D scene means rendering every frame of the shot again, and rendering is the slowest part of the whole process.
The first job is matching. If the darkest shadow on the character is darker than the darkest part of the set, the character looks pasted on. So I match the darks, then the brights, then the color of the light, until both layers look like they were lit by the same lamps.
After that comes the color grade, which is the overall color treatment of the shot: how warm or cool it is, how much contrast it has, and where the brightness pulls your eye. I’ll often darken the edges of the frame a little and lift the area around a face. Nobody should notice either move. They should just end up looking at the right place.
Depth of field is the range of distances that are in focus. A real lens blurs whatever sits in front of or behind that range. I add that blur in comp, using the depth pass, instead of rendering it in. That way I can move the focus later without waiting on a new render.
The same pass lets me add atmosphere, a thin haze that builds with distance so far-off things get paler and lower in contrast, the way hills do outside. It’s a small adjustment, and it does more for the sense of scale than almost anything else I know.
Computer renders come out too clean. Real cameras leave fingerprints: a soft glow around bright lights, a fine grain over the whole frame. I add small amounts of both. Grain matters more than it sounds like it should, because once every layer shares the same texture, the eye accepts that they were photographed together. If you can spot any of these effects, I’ve used too much.
Comp happens last, but its decisions happen early. Before I render anything, I have to know which layers and passes I’ll want. If I expect to adjust a character apart from the background, they need to render separately. If I want control over the glow of a lantern, the lantern needs its own matte. Forget one, and I’m rendering again.
So while I’m lighting, I’m already asking what I’ll want to change later. I’d rather render a shot a little flat and add contrast in comp than bake in a hard look I can’t undo.
There’s a limit, though. Comp can’t move a light to the other side of a face, and it can’t fix a pose. When the lighting is wrong in the render, the honest answer is to go back and fix the lighting. “Fix it in comp” is a tempting promise, and in my experience it usually costs more time than it saves. I treat comp as the finishing stage. Repairs belong upstream.
I direct my own films, and I work the full pipeline: design, storyboards, modeling, animation, lighting, and composite. On a large production, compositing is its own department, and that makes sense at that scale. On my films, I want to be the one at the end of the line.
The mood of a shot often gets settled in the last pass of color and atmosphere. Whether a room feels cold or safe, whether a character looks lonely or only far away, can come down to a few small moves in comp. That’s the same feeling I was chasing in the first storyboard sketch. If I handed off the last step, I’d be handing off the final say on it. Carrying a film from first sketch to final composite means I get to check that the feeling survived the trip.
As for tools, I composite in Nuke. It’s node-based, which means every operation is a small box, and the boxes connect into a flowchart of the whole shot. I can go back to any step and change it without redoing the rest. The software matters less than the habit of looking, though, and every idea here works in any compositing program. You can see the finished result of all this layering in my 3D demo reel on Vimeo.
If you’re a student and want to try it, start small. Render a ball on a floor in separate passes, rebuild the image from them, then push each pass around to see what it controls. That one exercise will teach you more than reading about it, this post included.
And if you’d like to see where all those panes of glass end up, the finished shorts are on my films page.

Emily Sarah Leeds is a writer and creative enthusiast at Emily Art, where she shares insights on art, creativity, design, and artistic expression. With a passion for exploring visual storytelling and creative techniques, Emily creates informative content that helps readers discover inspiration, develop their artistic skills, and stay connected with the evolving world of art.