Every character I’ve ever sculpted has tried to talk me out of planning it first. The idea shows up feeling alive, and every instinct I have says open the sculpt app and chase it while it’s warm. I’ve learned to make the idea wait. The hour I spend planning a character turnaround is the cheapest hour of the whole project, and I want to walk through how I actually spend it.
A turnaround is a set of drawings of the same character from several fixed angles, usually front, three-quarter, side, and back, all at the same scale and lined up on shared guide lines. Hand-drawn studios have used them for decades, because a character who will pass through many hands has to be knowable from every direction.
In 3D the need is even blunter. A sculpt is an object. The camera will orbit it, the animator will turn it, and the audience will eventually see the exact angle you never resolved. A design that only works from the front is a matte painting, not a character. The turnaround is where I force the design to survive rotation while mistakes still cost pencil instead of days.
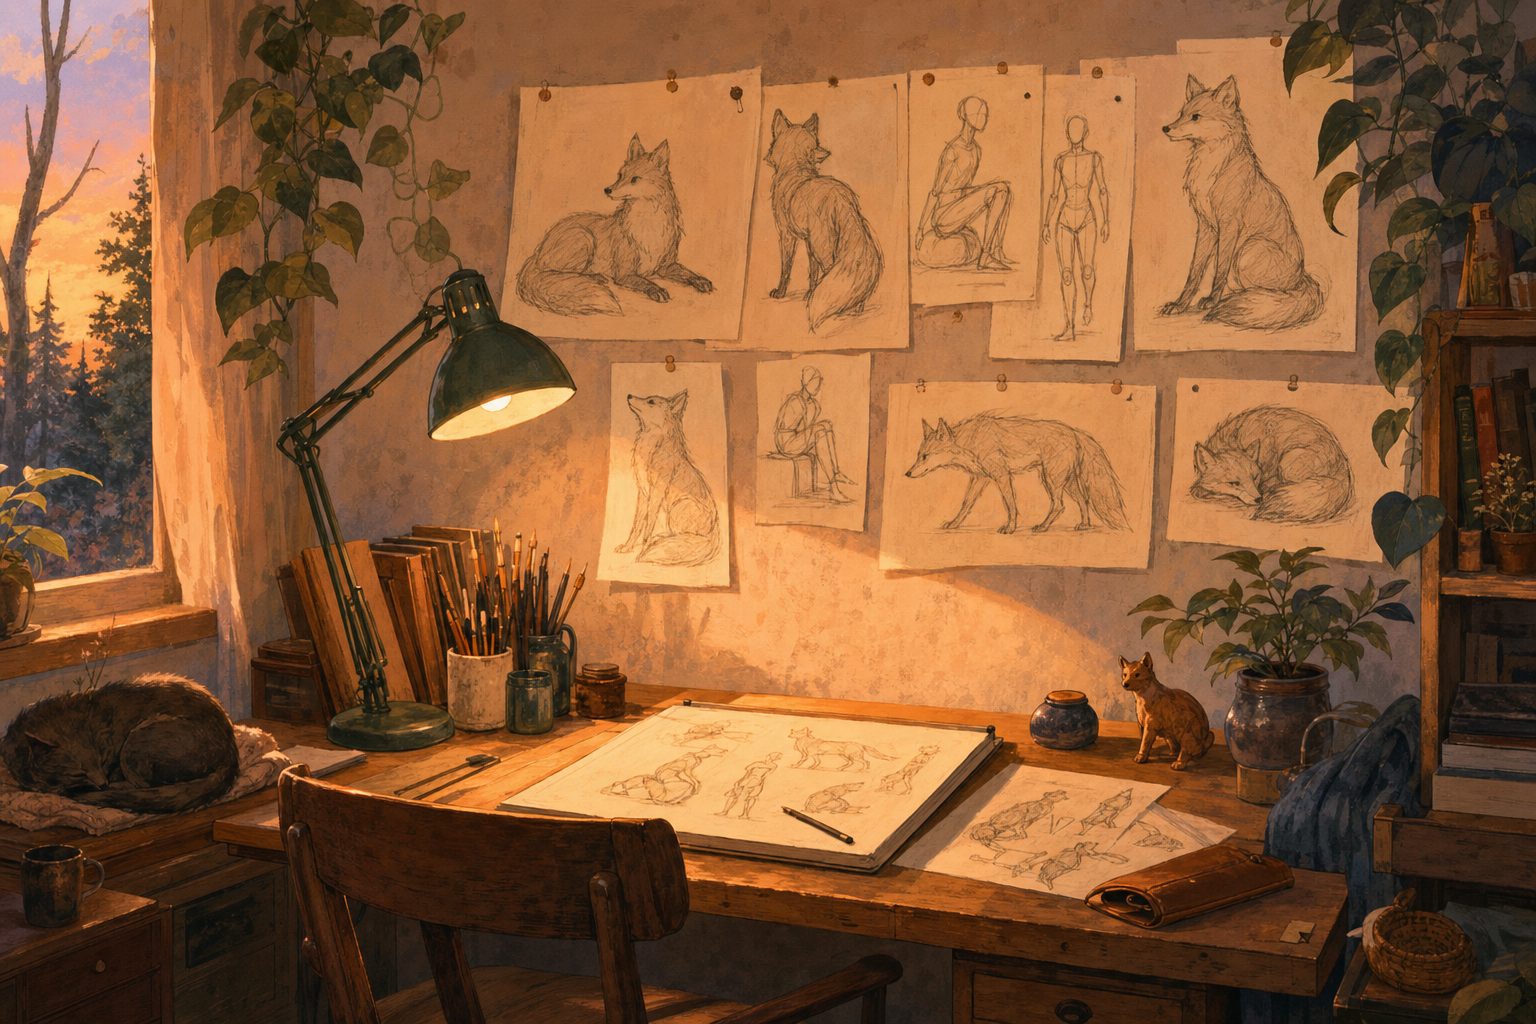
I never design from a blank page. Before I draw a line I collect reference: anatomy for the body type, clothing that behaves the way I want the costume to behave, animals or objects that carry the shape language I’m after. This part is fun, which is exactly the danger. A board with two hundred images is a mood, not a plan.
So I cut. I keep maybe ten images, and each one has to earn its place by answering a specific question. What does this jacket do at the shoulder seam? How does weight sit on this kind of frame? If I can’t say what question an image answers, it goes. What’s left is a board I can actually check my drawings against, instead of a scrolling feed of other people’s taste.
Before I draw a single view, I thumbnail the character as a flat black shape. Small, fast, dozens of times. No face, no costume detail, no rendering. Just the outline.
The silhouette is the first thing an audience reads and the last thing a sculpt can fix. If the flat black shape doesn’t tell you the character’s attitude, their weight, roughly who they are, no amount of surface detail will rescue it later. I keep thumbnailing until one shape still reads at the size of a coin. That shape becomes the contract for everything that follows.
Now the unglamorous part. I rule horizontal guide lines through the major landmarks: crown, brow, chin, shoulders, elbows, wrists, hips, knees, ankles. I draw the front view first, because that’s where the silhouette lives. Then I drag every landmark straight across and build the side view on the same lines, then the back, then the three-quarter.
This is where the design starts arguing with itself, and that’s the point. The jaw that looked strong from the front turns out to have no plan from the side. The oversized sleeve that made the silhouette interesting has to attach to a shoulder somehow. Shared guide lines catch these lies early, because you can’t fudge a landmark in one view without it visibly missing its line in the next.
The three-quarter view is the honest one. Front and side views let forms hide behind symmetry and flatness. The three-quarter makes the forms overlap, and overlaps are where you find out whether you understand the shapes or only the outline.
When the views are drawn, I stop and audit them before I open a 3D app. The blockout, the rough first pass in 3D where you mass in the big forms before any detail, will faithfully reproduce every mistake I hand it. So I try to hand it fewer.
None of these checks takes more than a few minutes. All of them are cheaper on paper than in a sculpt with two million polygons.
The tools here are ordinary and mostly interchangeable. I draw turnarounds in Procreate, sculpt in ZBrush, and do the cleanup modeling and retopology in Maya (retopology is rebuilding a sculpt’s surface into clean geometry that can deform properly). Paper works fine for the drawing stage. The planning is the part that matters, not the app.
The character work in my 3D demo reel went through this same flat, unglamorous stage, and it’s the reason those models keep reading when the camera moves.
An hour of turnaround planning saves a week of sculpt repair. That isn’t a textbook rule. It’s the plain math of how expensive a change becomes once geometry exists. Moving a shoulder line in a drawing takes seconds. Moving it in a finished sculpt means re-sculpting, re-topologizing, and sometimes re-rigging everything the shoulder touches.
So if you’re a student with a character in your head and your cursor already hovering over the sculpt app, I get it. Draw the boring views first anyway. And if you’d like to see where drawings like these end up, have a look at my 3D character work.

Emily Sarah Leeds is a writer and creative enthusiast at Emily Art, where she shares insights on art, creativity, design, and artistic expression. With a passion for exploring visual storytelling and creative techniques, Emily creates informative content that helps readers discover inspiration, develop their artistic skills, and stay connected with the evolving world of art.